This guide ensures customers are correctly set up in both the Shopbox POS and back office.
Please note that customer management is only included in our 'Plus' and 'Advanced' subscriptions. If you need this feature, don't hesitate to contact us at support@shopbox.com or +45 3113 1515 – we’ll be happy to discuss your needs and find the best solution for you.
Customers can be created in both the Shopbox POS and back office.
Back Office:
- Navigate to the "Customer Club" menu.
- Click the “+” button in the top-right corner.
- Fill in all required fields (marked with an asterisk):
- First Name and Last Name
- Account Type: Choose between Business or Customer.
- Complete any additional optional fields, including:
- Subscribed: When enabled, you can view the customer's purchase history.
- Consolidated Invoice: If enabled, all invoices for the customer will be combined into one invoice sent at the end of the month.
- Discount Groups: If a discount group is linked, the customer will automatically receive the assigned discounts.
- Click “Create” in the top-right corner to finalize the customer setup.
Shopbox POS:

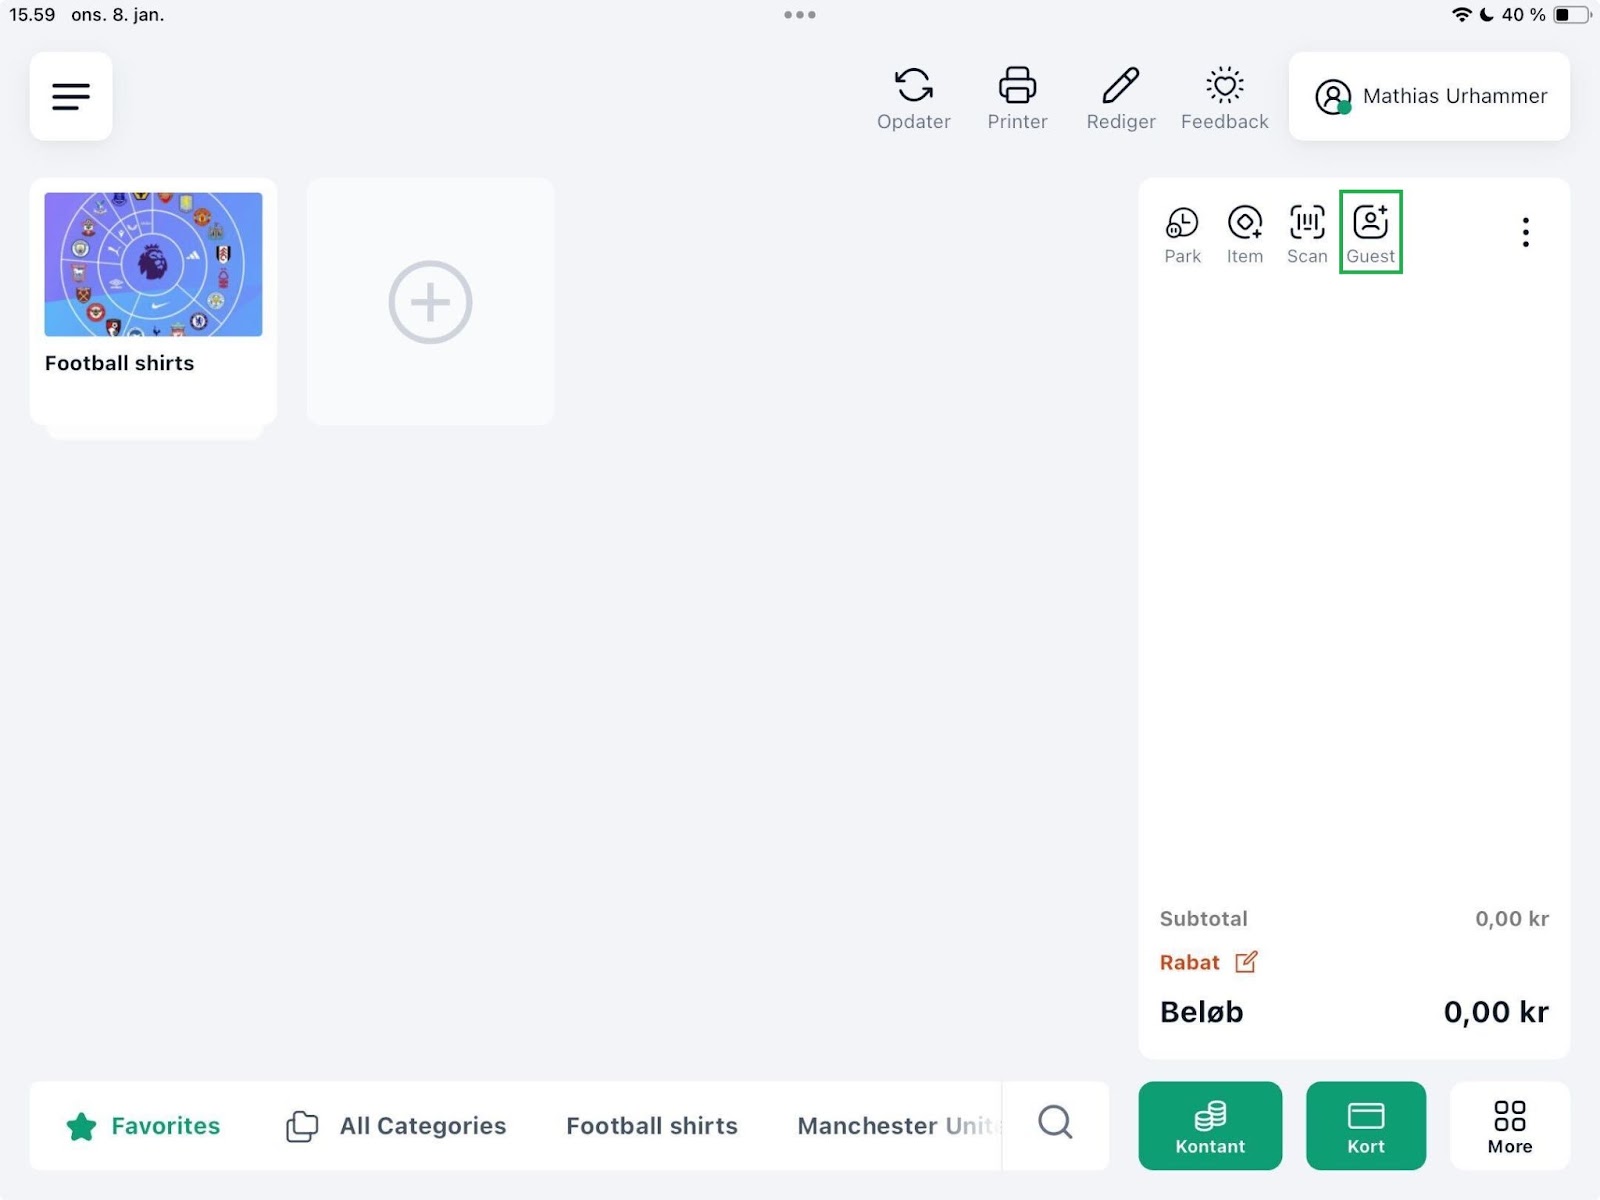
- Click the “Guest” button (marked in green in the image).
- Select “Create New” (also marked in green in the image).
- Choose the customer type (Business or Private Consumer):
- Business: Complete the minimum required fields for setup:
- Full Name.
- Email.
- CVR number (company registration number).
- Private Consumer: Complete the minimum required fields:
- Full Name.
- Email.
- If Subscribed is enabled, the consumer will receive an email to accept membership in the customer club.
- Business: Complete the minimum required fields for setup:
- Fill in any additional desired information.
- Click the green “OK” button in the bottom-right corner to complete the setup.
