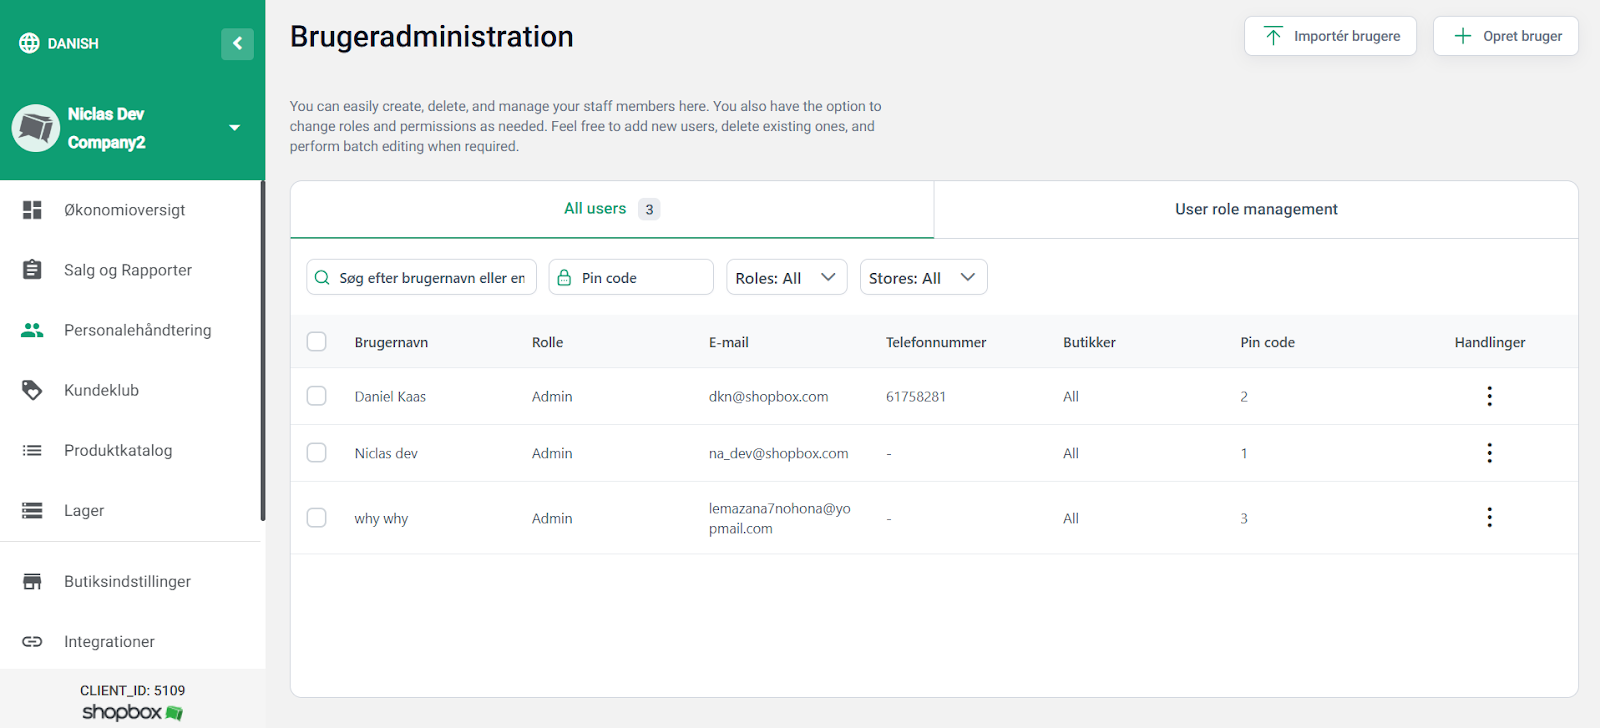
Staff creation and user role management
This guide helps you set up staff and roles in the system.
User role management

Step 1: Consider User Access
Before creating staff profiles, decide which features users should have access to. This can be configured via the “User Role Management” submenu.
User Roles
There are five predefined roles that can be customized or supplemented with your own user roles:
- Admin
- Finance
- Manager
- Self-Checkout Staff
- Staff
Note: Only the Admin role cannot be edited. For all other roles, you can define their access. Each access level includes a short description of its functionality.
User Creation

Step 2: Create a New User
Once roles are set up, you can create users.
- Click “+ Create User” in the top-right corner.
- Fill in the fields in the pop-up menu. Fields marked with * are mandatory.
Mandatory Fields:
- First Name and Last Name: Displayed in the system in the following places:
- At the top of the POS app when the user is logged in.
- In the transaction list and reports.
- (Optional) On the customer's receipt.
- Email:
- Used as the login for the POS app, together with a password.
- Must be unique for each user.
- Role:
- Determines what the user can access in the system.
Optional Fields:
- Phone Number: Useful for contact purposes.
- Store:
- Relevant if the business has multiple locations.
- Assign a user to one or more stores.
- Password: Used together with the email to log in.
- PIN: Used for quick user switching in the POS app.
- Report Type: Select which reports the user should receive automatically.
Important!
After editing or creating users, update the settings in the POS app to ensure the changes take effect.