![Logos.webp]](https://help.shopbox.com/hs-fs/hubfs/Logos.webp?height=22&name=Logos.webp)
| Integration type | Sales Orders |
| Best suited for | Businesses that want inventory management and detailed item lines in Business Central |
| Inventory deduction | Yes |
| Posting level | One sales order per payment type |
In this article, we will cover
- How Sales Orders works
- How to set up the integration
- Which accounts to select for each payment type
- How product and customer synchronization works
Why choose Sales Orders?
-
The day’s sales are created as sales orders in Business Central, with one order created for each payment type.
-
Item lines and item data are included, providing stronger reporting and a better overview.
-
Inventory is updated directly in Business Central.
Before you begin
-
You need access to both Shopbox Backoffice and the relevant company in Business Central.
-
Items and accounts for each payment type should be created in Business Central before you begin.
-
To split card payments, make sure the relevant accounts are ready for each card type.
How to set up the integration
Step 1: Find your Tenant ID
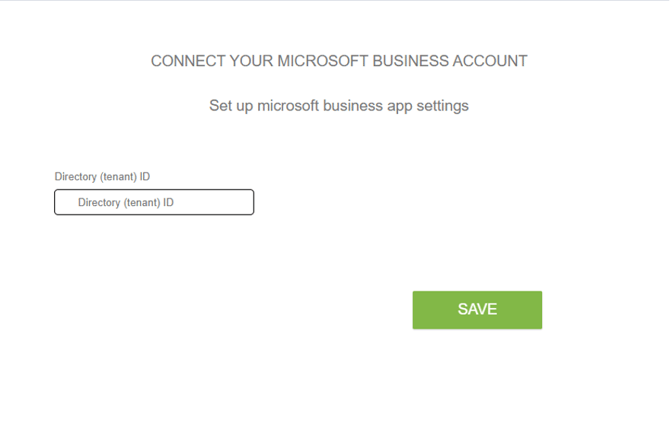
Open Business Central. Your Tenant ID appears in the URL after the domain. It is typically shown as a GUID in the first segment after the first forward slash.
Once you have entered the ID in Shopbox, click Save.
Step 2: Select branch
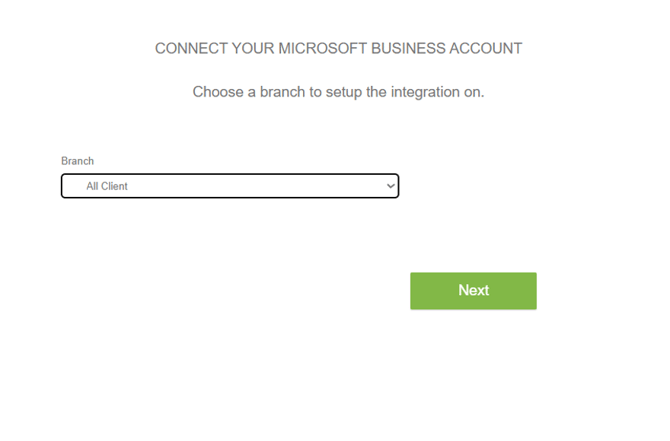
Select the branch for which you want to configure the integration. The setup must be completed separately for each branch.
Step 3: Enter environment
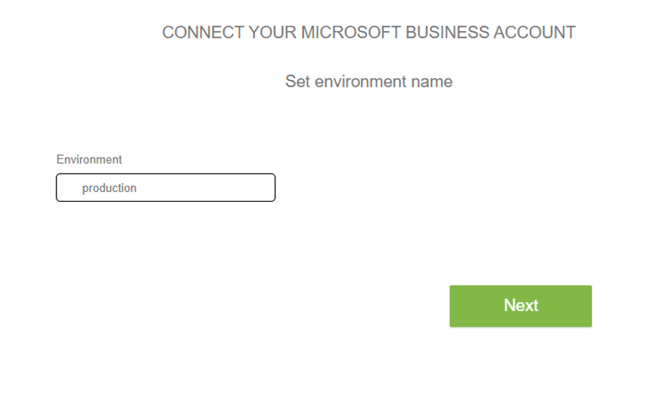
Enter the name of your Business Central environment. This is typically Production.
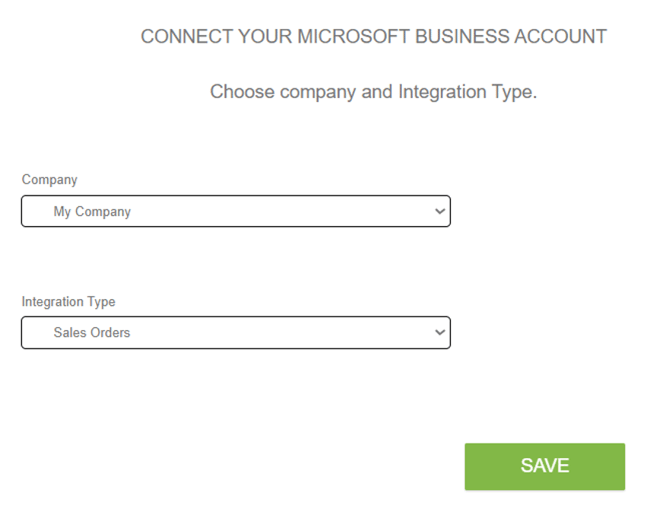
Step 4: Select the company and integration type
Select the company that the integration should connect to, then select Sales Orders as the integration type. Click Save.
Step 5: Complete the order setup
On the setup page, first select the default payment term. Then select the Business Central account to which each payment type should be posted.

Default setup
- Default payment account: Select the payment term that should appear on the sales orders created by the integration.
Accounts for each payment type
-
EUR: Select the account to which payments in euros should be posted.
-
Webshop, manual payment type: Select the account to which manually registered webshop payments should be posted.
-
Split Payment: Select the account to which split payments involving multiple payment methods should be posted.
-
Cash Round: Select the account to which rounding differences from cash payments should be posted.
-
Swipp: Select the account to which Swipp payments should be posted.
-
Cash: Select the account to which cash payments should be posted.
-
Gift: Select the account to which gift card payments should be posted.
-
Mobile: Select the account to which mobile payments, such as MobilePay, should be posted.
-
Card: Select the account to which card payments should generally be posted. This field can be used as a shared card account or as a fallback account.
-
Enable Card Split: Enable this setting if you want different card types to be posted to separate accounts.
-
Card [International]: Select the account to which international card payments should be posted.
-
Card [Local]: Select the account to which local card payments, such as Dankort, should be posted.
-
Card [Other]: Select the account to which other card types, such as Amex and Maestro, should be posted.
Products and synchronization
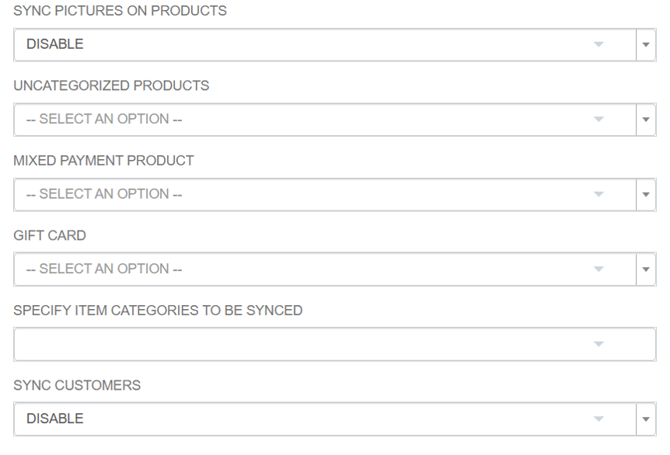
These settings control the synchronization of products and customers between Shopbox and Business Central.
-
Sync Pictures on Products: Choose whether product images should be synchronized between Shopbox and Business Central.
-
Uncategorized Products: Select the default item category to use when a product does not have a category.
-
Mixed Payment Product: Select the item to use for mixed payments.
-
Gift Card: Select the gift card item to use when gift cards are sold and redeemed.
-
Specify Item Categories to be Synced: Select or enter the item categories that should be synchronized.
-
Sync Customers: Choose whether customers should be synchronized between Shopbox and Business Central.